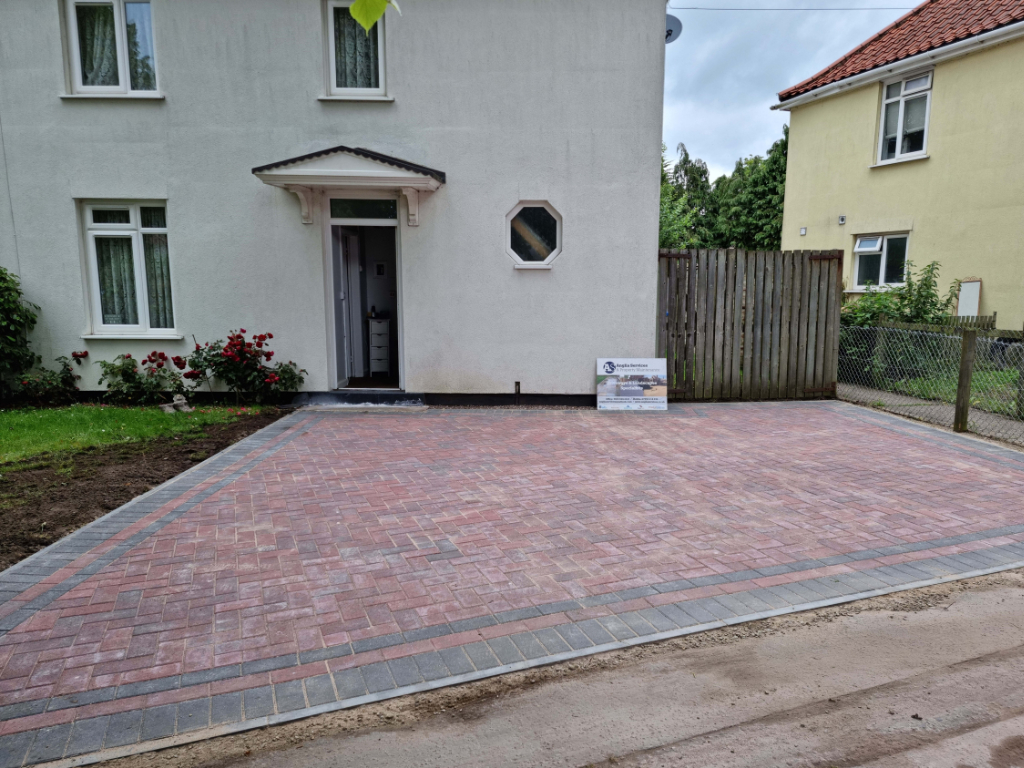
The Installation Process of Commercial Block Paving Explained
Introduction: Block paving is popular for commercial properties due to its durability, aesthetic appeal, and versatility. At Newmarket Driveway Surfacing, we understand that a well-installed block paving surface can enhance the functionality and appearance of your commercial space. This blog post will walk you through the comprehensive commercial block paving installation process, providing valuable insights and tips to ensure a successful project.
1. Initial Planning and Design
Assessment and Consultation: A detailed assessment of the site is essential before any physical work begins. This involves:
- Site Survey: Measuring the area and evaluating the existing surface conditions.
- Design Requirements: Discussing design preferences, traffic load, and drainage requirements with the client.
Design and Layout:
- Pattern Selection: Choose a block paving pattern that complements the commercial space’s aesthetic and functional needs, such as herringbone, basketweave, or stretcher bond.
- Block Types: Based on durability and visual appeal, select the appropriate block paving materials (e.g., concrete, clay, or natural stone).
Tip: Collaborate with a professional designer to create a layout that maximises space and meets practical requirements.
2. Ground Preparation
Clearing and Excavation:
- Removal of Existing Surface: If an old surface is present, it must be removed. This may involve removing asphalt, concrete, or existing block paving.
- Excavation: Digging to the required depth to accommodate the new paving layers, including sub-base and base layers.
Sub-Base and Base Layers:
- Sub-Base Installation: Laying a sub-base layer of crushed aggregate (e.g., MOT Type 1) provides a solid foundation and aids in drainage.
- Base Layer: Adding a base layer of sharp sand or similar material creates a level surface on which the blocks can sit.
Tip: Proper compaction of these layers is crucial for the stability and longevity of the block paving.
3. Edge Restraints and Drainage
Edge Restraints:
- Installation: Edge restraints or kerbs are installed to prevent the blocks from shifting and to define the boundaries of the paved area.
- Types: Choices include concrete edging, steel edging, or masonry, depending on the design and structural requirements.
Drainage Considerations:
- Surface Water Management: Ensuring proper drainage to prevent water pooling. This may involve incorporating drainage channels or installing a cambered surface.
- Gullies and Drains: Positioning and installing any necessary drainage gullies or drains to manage water flow effectively.
Tip: Ensure that drainage solutions comply with local regulations and are designed to handle the expected water volume.
4. Laying the Block Paving
Block Paving Installation:
- Setting Out: Marking reference lines to ensure the blocks are laid in straight and even rows.
- Laying the Blocks: Starting from one corner, lay the blocks according to the chosen pattern. Use a rubber mallet to tap the blocks into place and ensure they are level.
- Cutting Blocks: For edges and corners, blocks may need to be cut to fit precisely using a block splitter or a diamond-blade saw.
Jointing:
- Filling Joints: After laying the blocks, fill the joints with a suitable jointing material, such as kiln-dried sand or resin-based grout. This helps to lock the blocks in place and prevent weed growth.
- Compaction: Using a plate compactor to consolidate the blocks and jointing material, ensuring a stable and even surface.
Tip: Check for alignment and level frequently during installation to avoid issues later.
5. Final Touches and Maintenance
Cleaning and Sealing:
- Cleaning: This involves removing any excess jointing material and cleaning the surface of the block paving to remove dust and debris.
- Sealing: A sealant is applied to protect the blocks from stains, moisture, and UV damage, enhancing their longevity and appearance.
Maintenance Guidelines:
- Regular Cleaning: Keeping the surface clean to maintain its appearance and prevent the buildup of grime and moss.
- Repairs: Promptly address issues such as shifting blocks or damaged joints to avoid further damage.
Tip: Follow the manufacturer’s recommendations for sealant and maintenance to ensure optimal performance of your block paving.
Conclusion: Installing commercial block paving involves careful planning, precise execution, and attention to detail. By understanding each step of the installation process, you can ensure a successful project that enhances your property’s functionality and visual appeal.
Call us on: 01638 591 795
Click here to find out more about Newmarket Driveway Surfacing
Click here to complete our contact form and see how we can help you with your driveway needs.

